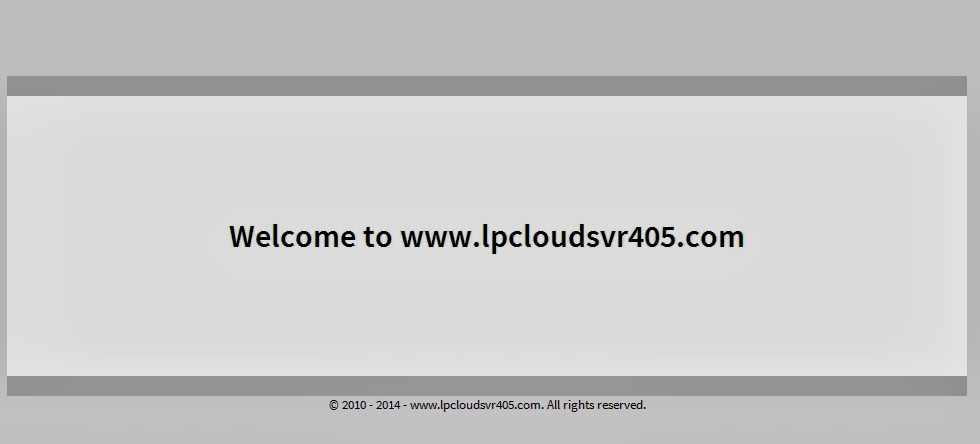
Your
browser is messed up by lpcloudsvr405.com? It changes your browser start page
and search provider without your permission? It also causes redirection
repeatedly to disturb you? I can understand that you get enough of the
interference of lpcloudsvr405.com. No worries, I will help you eliminate lpcloudsvr405.com
from your browser.
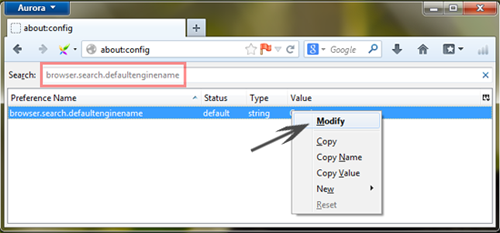
Characteristics of lpcloudsvr405.com
1)
It takes the place of your browser homepage and search engine.
2)
It doesn't allow you to reset your browser settings.
3)
It adds a flood of unwanted toolbars and programs to your PC.
4) It
modifies your search results for collecting network traffic.
5)
It tracks your activities all the time for malicious intentions.
More Information about lpcloudsvr405.com
In
some cases, certain computer attackers make profits illegally through
distributing lpcloudsvr405.com virus to random computers secretly. To be frank,
lpcloudsvr405.com is designed as a typical browser hijacker to take over some infected
browsers. Such pesky browser hijacker virus usually hides in lots of
questionable and insecure resources on the Internet. Free programs, shady
websites and spam email attachments are this virus’ hiding places. As soon as
you access these dangerous sources, your browser will have problems
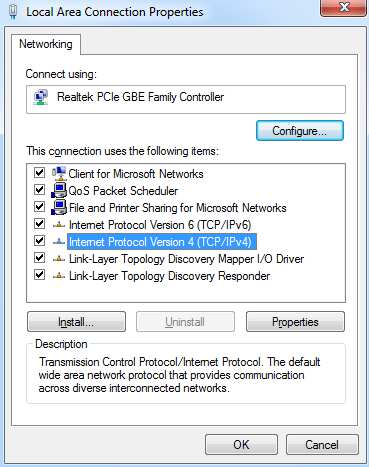
immediately. It is necessary to remove lpcloudsvr405.com when your
PC is attacked.
Loathsome as it is, lpcloudsvr405.com can make chaos to your computer life. There are many unsolicited websites pop up each time you open your browser. And many pop-ups messages cover these pages. Once you click on them carelessly, you are misled into sponsored websites that make you really uncomfortable. In addition, your search result page is full of unknown links though you make searches by Google or Bing. As a result, your click is able to transfer you to unverified websites. You may wonder how this virus has done that. The answer is that lpcloudsvr405.com has an ability to hijack your searching words and change search results.
In a
word, the purpose of lpcloudsvr405.com is to advertise some websites for its
partners. So the maker of this domain can get high returns from third parties.
Moreover, lpcloudsvr405.com is programmed by its maker to track your browsing
histories aiming at gathering your email passwords and bank account login
details. It is possible that sponsors send lots of SPAM to harass you endlessly
in future. At the same time, hackers rob you of your money saved on the credit
card probably.